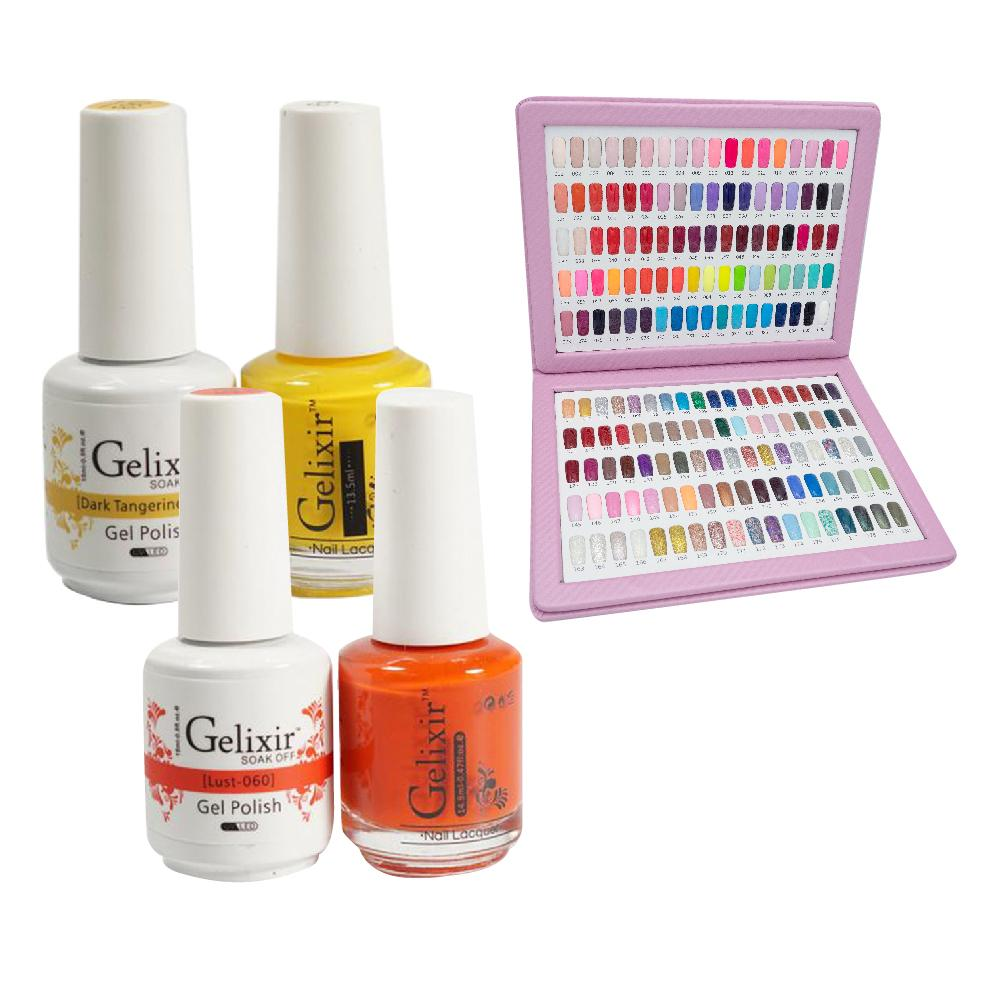
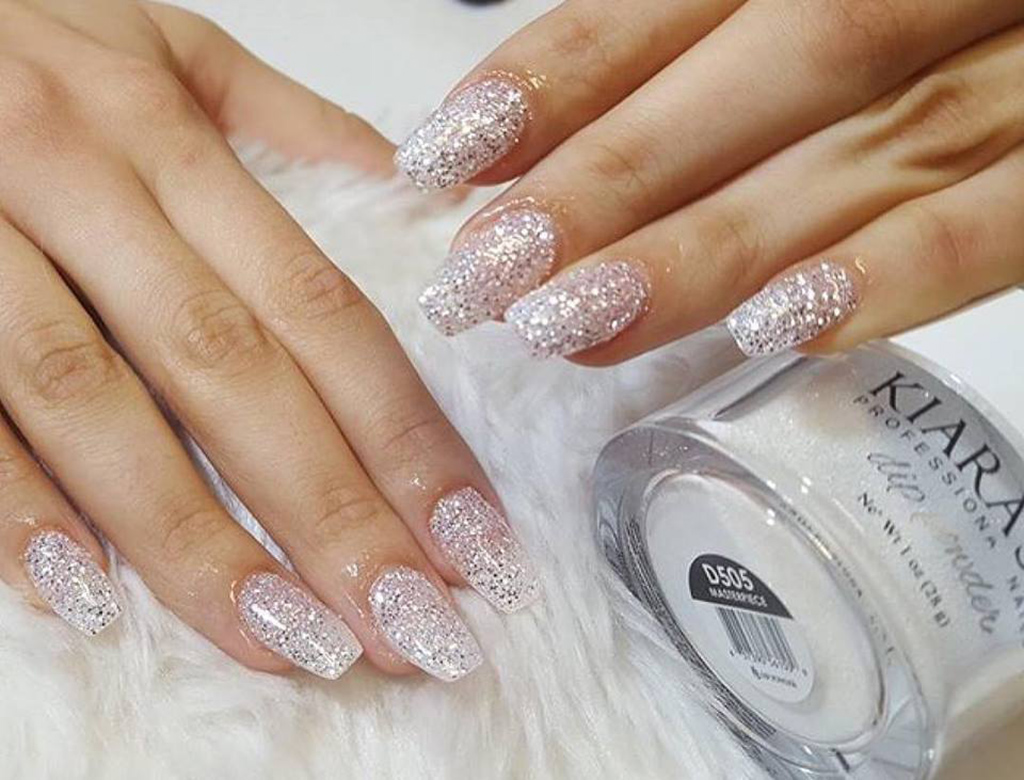
Usually, dip powder manicures are easy procedures that anyone can master within no time. However, one should follow the perfect procedure to get the most beautiful dip powder nails. Otherwise, you end up with an incomplete dip manicure that could result in lifting the powder layer to damage the manicure.
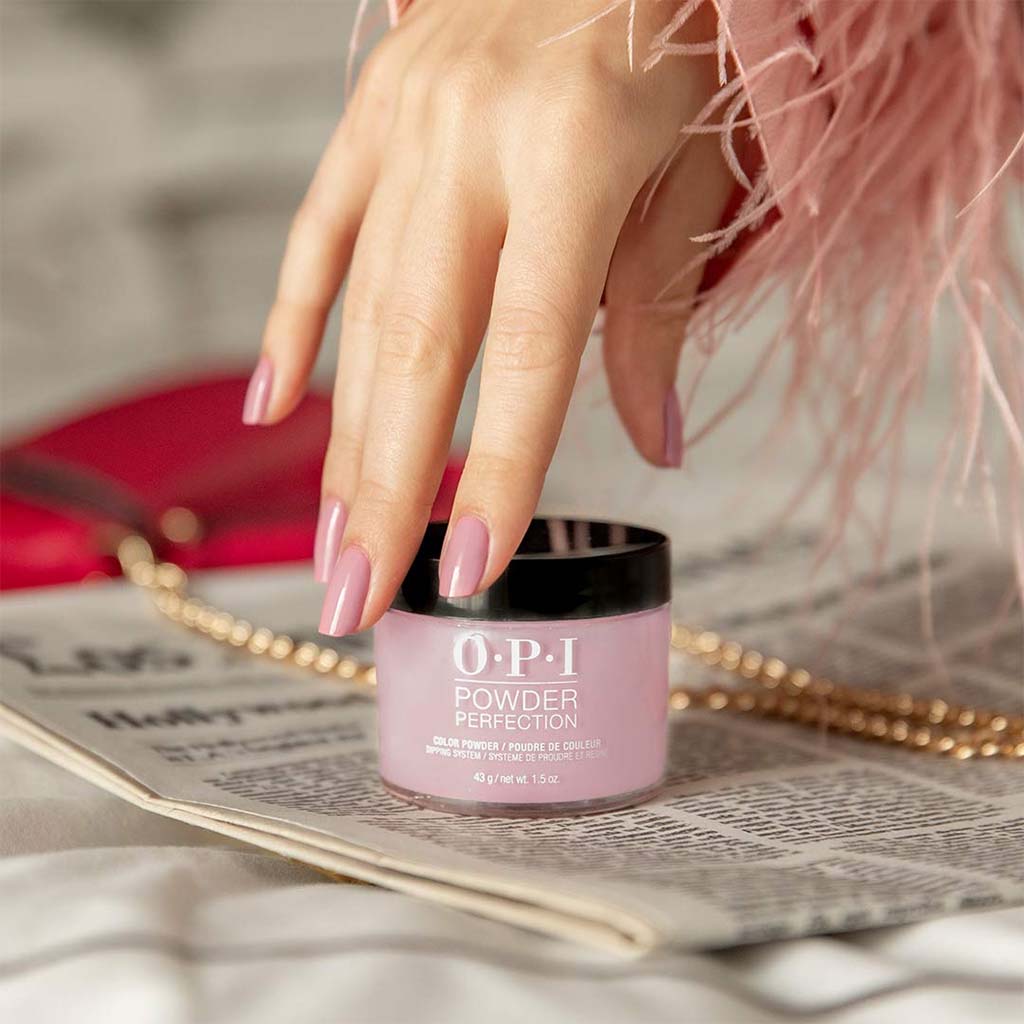
Let us now learn how to use the OPI powder perfection method to get an excellent dip powder manicure.
The Perfect Dip Powder Manicure Process
Start by prepping your nails. We do not go much into the details because the prepping process is the same for all manicures. First, you remove existing nail polish. Then, you file and shape the nails. Buff the nail surface and remove the debris. Next, push the cuticle into the grooves and scrub the nail surface with alcohol-based wipes to disinfect and clean the surface.
Before you start the manicure, we advise you to scoop the required amount of dip powder into a separate container. It prevents cross-contamination. Take a clean wooden stick and stir the dip powder mixture thoroughly to ensure the pigments are blended perfectly. Otherwise, you might end with a clumpy finish.
Apply the first basecoat layer over the nail by leaving space near the cuticle. It helps prevent the dip powder from sticking to the cuticles and damaging the manicure. Next, immerse your nails at a 45-degree angle into the dip powder you had removed earlier. Repeat the process on each nail quickly because the basecoat can dry fast. Finally, use a clean brush to dust excess dip powder from the nails. As you have not applied the basecoat to the cuticles, the powder does not stick to them. Please ensure not to have dip powder populating the space under the nail’s free edges. (more…)
