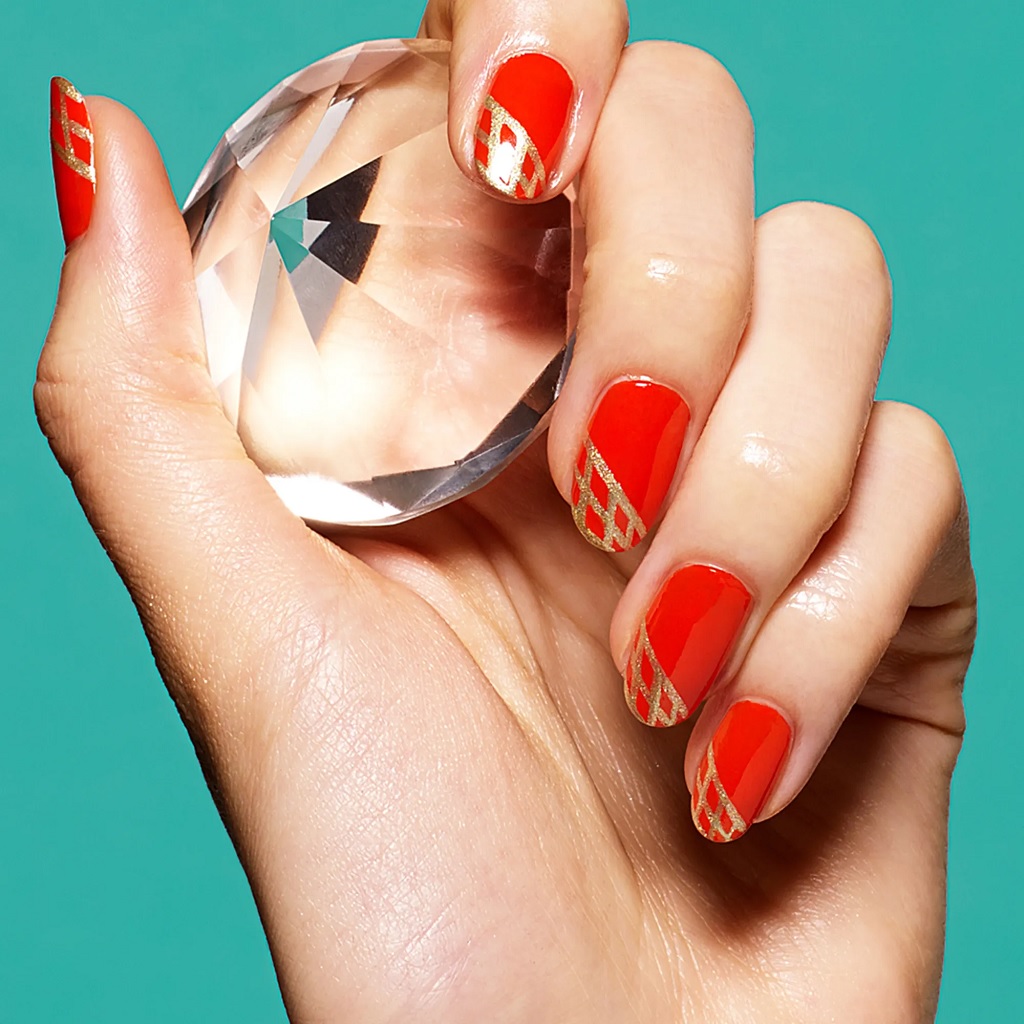
Color gel nails has become a modern beauty mainstay. It is very glossy, indestructible and the best thing is it’s offered at nearly every nail salon. But, what is the best gel nail lacquer for you? It is created from acrylic monomers or oligomers which sticks with one and another when placed under UV lamp. Gel lacquer doesn’t really dry without a UV Gel Lamp Which makes it easier for beginners to correct from their mistakes. But when it’s dried completely hard it is sticky enough to bond to the nail perfectly.

How to Apply Gel Nail Polish?
Step 1: Preparation
To get the best results with gel nail polish, the natural nail needs to be clean and dry. The following steps are really important, so make sure to follow them!
At first File your nails with a shape you want.
Use a good hygienic metal cuticle pusher to scratch away any excess cuticle on your nail. The Thin layer of skin named cuticle normally get attached to the nail plate as they grow.
Remove the shine from nails.
Wiping away the dust from each angle is very crucial and should be done with every other nail for hygienic purposes.
Step 2: Base Coat
At first apply the base with long thin strokes, swiping the brush along each concave of the nail is called capping the full free edge and it makes sure that your precious colors last longer than usual. After that, the nails should be kept under the UV lamp for 2-4 minutes. If it’s a strong LED one then 1 minute is enough. Preparing the base coat is sticky and messy so don’t touch anything yet that can ruin your nails. Keep your nails free The dust particles and extra pollution for safety purposes.
Step 3: Color Coat
Take Your polish nail and paint the first layer. One should take enough time to get all the edges without getting any polishes in the skin. This will make sure the nails look as Professional as possible. If you are a beginner then it is suggested to make a gap of 1mm in between your skin and nail edge.
Put your hand one by one under the UV lamp for the required amount of time. Apply the second layer after it’s all said and done.
Step 4: Topcoat
After the Second layer, it is time for the topcoat. Topcoats make sure that your full-proof nails look like this after the end of the weeks. Apply This over the nails one by one, Ruling all the free edges and set them for 60 seconds to 2minutes seconds (LED) or 1 minute under UV.
Topcoats come in various forms. One can choose from matte to shiny. However, no matter what you choose, it should not have a tacky layer after UV lamp process. Some of the top layers need to be wiped down with isopropyl alcohol to prevent chipping
Now your manicure is complete, you should be confident in how to apply gel polish in the future!
Do and Don’t of Gel Nail Polish
Do not peel of the nail polish yourself
Which is not only painful but also bad for your nail health. Peeling off the gel polish by yourself will do a lot of damage to your nails because of its high adhesion. So, when you peel off the nail bed, you will probably also be peeling off each layer of the nail, resulting in uneven and flaky nails. Therefore, it is best to invest in the right products for gel nail removal.
Try Color You Which goes With Your Skin tone and everyday aesthetic
With Proper Techniques, a good gel manicure will last for more than three weeks. This means choosing a color that goes with your aesthetic.
Make Sure You don’t apply thick layers
Apply a long and thin coat to get so that it doesn’t chip off easily. If mistakenly applied too much one should use the dry brush technique to wipe away any excess formula from the nails.
Do prepare your supplies before beginning
Includes: gel UV lamp, all nail lacquer you want to use including primer, base, and topcoat, use acetone, alcohol which is for cleansing, wipes ( lint free is preferred), thin brush, clean Towels.
Conclusion
Although gel nail polish colors is relatively less popular in comparison to acrylic nail paint, it has a variety of benefits, including its durability and beautiful finish. It is also quick drying and allows us to have a salon-style manicure at home, with a few easily purchased tools.